

Looking for a new and unique way to decorate your home? Why not try making your own rug? It’s a fun and easy project that can be completed in just a few hours. In this guide, we will show you how to make a rug using basic materials and tools. So get ready to roll up your sleeves and get creative!
How to Make Your Own Rug with the Rug Gun?
Choose the rug size
The size of your rug may depend on the size of your room or the area you want to cover. If you are unsure, it is always better to err on the larger side. You can always trim down the excess later.
Choose the rug color
The color of your rug is completely up to you! You may want to choose a color that matches your decoration or goes well with the furniture in the room. If you are unsure, consider choosing a neutral color like white, black, or gray.
Choose the woolen thread
The type of woolen thread you use will also affect the overall look of your rug. . For this project, we recommend using a thicker thread so that your rug will be more durable. But if you want a more modern look, choose a thinner thread.
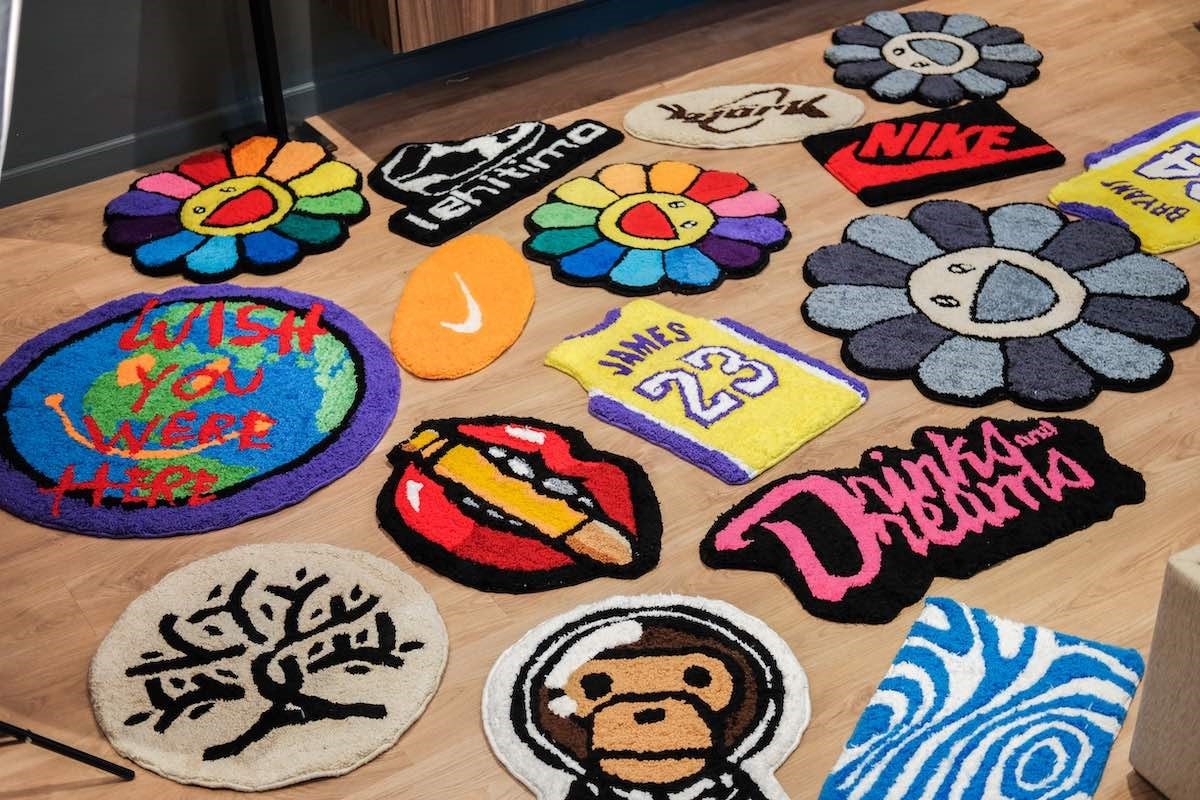
Design your rug
The next step is to design your rug. You can do this by sketching out a design on paper or using a computer program like Photoshop. If you are not sure where to start, there are plenty of rug designs available online that you can use for inspiration. Also, you can make your favorite cartoons or your name on the rug.
Cut the woolen thread
Once you have designed your rug, it’s time to cut the woolen thread. The best way to do this is to use a sharp pair of scissors. But if you don’t have any scissors handy, you can also use a knife or box cutter. Just be careful not to cut yourself!
Mark the center of your rug
The next step is to mark the center of your rug. This will help you ensure that your design is symmetrical and evenly spaced. Use a ruler or measuring tape to find the exact center of your rug and mark it with a pencil.
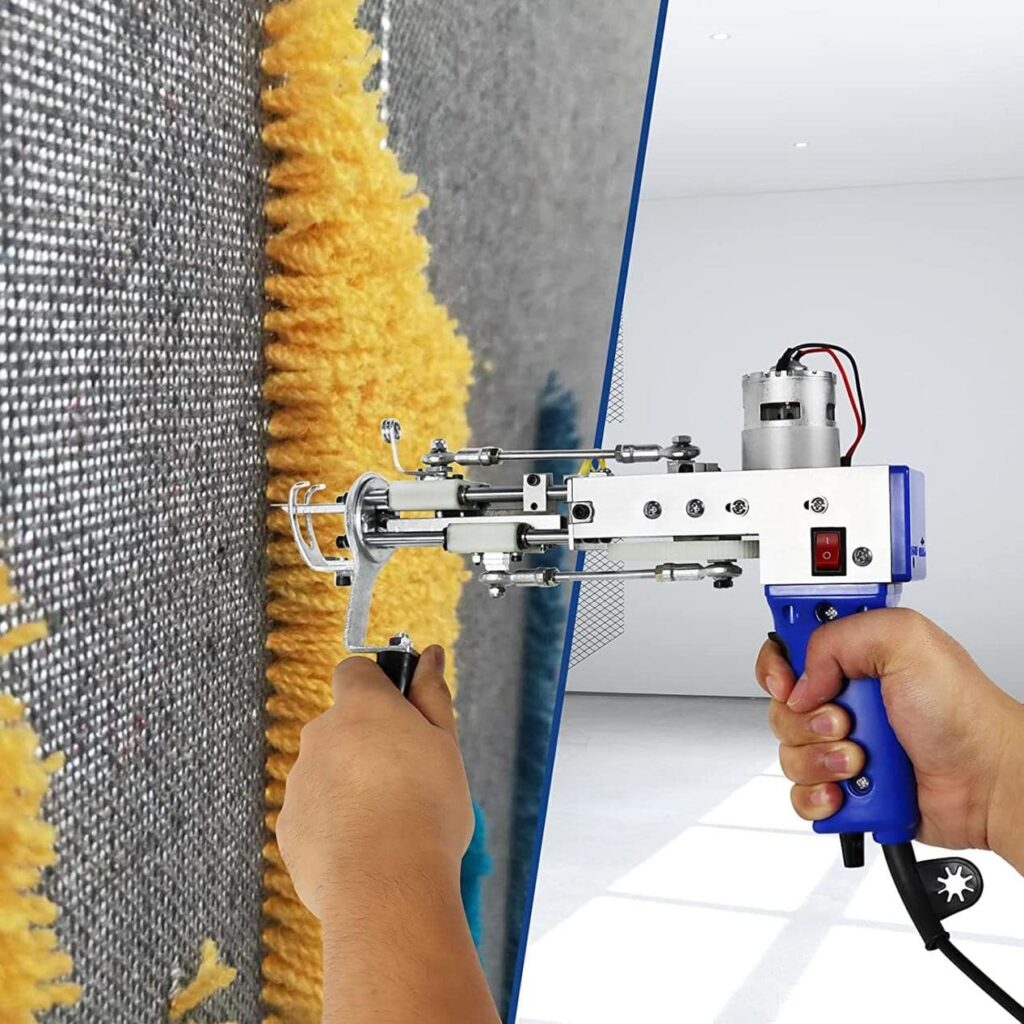
Attach the woolen thread to the rug gun
Now it’s time to attach the woolen thread to the rug gun. First, cut a piece of thread that is about 12 inches long. Then, find the end of the thread and insert it into the opening at the top of the Rug Gun. Finally, pull on the trigger to secure the thread in place.
Start stitching from the middle
Now it’s time to start stitching! Begin in the middle of your rug and work your way outwards. If you are using a sewing machine, set it to a straight stitch and sew along the lines of your design. If you are hand-stitching, use a running stitch or whip stitch. When you reach the end of a line, knot the thread and cut off the excess.
Fill in the gaps
Once you have stitched all of the lines of your design, it’s time to fill in the gaps. To do this, simply stitch back and forth across the empty spaces. When you reach the end of a line, knot the thread and cut off the excess.
Finish your rug
The last step is to finish your rug. To do this, trim any loose threads and secure all of the knots. Then, vacuum or brush your rug to remove any lint or debris. Finally, admire your handiwork! You’ve just made a one-of-a-kind rug that is sure to impress your friends and family.
Conclusion
Making your own rug is a great way to add a personal touch to your home. With this guide, you can easily make a rug that is uniquely yours. So get creative and have fun! We can’t wait to see what you come up with.